
Baking recipes
Scroll through our posts below to try all sorts of delicious baking recipes from our instagram baking videos. New baking videos are posted the first week of each month on Instagram and Facebook.
To easily find one of our recipes type below:
Cornbread - Cake you can eat for dinner!
Anyone else dreaming of the Stampede'? The weirdest 10 days of Calgary’s summer where everything becomes cowboy themed and it’s socially acceptable to wear a cowboy hat in any circumstance. Glorious! Well with cowboy themed things come chili and what goes with chili? CORNBREAD! Yee HAW! Cornbread is a super easy quick bread that you can stir together and pop into the oven while your chili is cooking, or equally as delicious made into muffins in the morning! So many options!

The corniest of breads!
Cornbread
Yield: one 8”x8” pan or a cast iron skillet
Preheat your oven to 350*F
1/2 cup Butter, melted
2/3 cup Sugar
2 Eggs
1 cup Sour Cream (can replace with 1 cup buttermilk, yogurt, or 1 cup of milk with 1 teaspoon vinegar or lemon juice)
1/2 teaspoon Baking Soda
1/2 teaspoon Salt
1 cup Flour
1 cup Cornmeal (I like Yellow cornmeal for the colour, but white will work too!)
Fun flavourings: I used 2 Tablespoons chopped cooked bacon, 1 Tablespoon chopped pickled jalapeños, and 1/2 cup grated cheddar cheese. Other delicious things you can add are whole corn kernels, caramelized onions, roasted red peppers. Or for a sweet variety, blueberries and lemon zest!
In a large bowl mix together your melted butter, sugar and eggs.
Add the sour cream, baking soda and salt. Stir to combine.
Stir in your flour and cornmeal.
Stir in any flavourings you want to add like cheese or bacon! Now pour into a greased 8”x8” baking dish.
Bake for 30-40 minutes or until its lightly golden, springs back to the touch and a toothpick inserted into it comes out clean.
Now enjoy! YAHOO!
Cinnamon Streusel Banana Bread because we all have ugly bananas in our freezer!
I love bananas! Not just as a fruit, but I think they are SO cute! I literally have a banana change purse, banana leaf wallpaper and my phone screen is bananas, they are happy, yellow and adorable! One might say I’m BANANAS for bananas! Anyways, last week was pi day, which meant making mucho banana cream pies but now I am left with lots of bananas that didn’t get used up, so what better use than banana bread! If you don’t have a pile of blackening bananas on your counter like me, you probably have a few in the freezer, where all bananas go to die, so lets use them up!

Cinnamon Streusel Banana Bread - a gift from the baking gods!
Cinnamon Streusel Banana Bread
Yield: 1 loaf pan 9”x4” or whatever pan you want to use!
Preheat your oven to 350*F
4 Bananas (or 3 if they are big boys!) - ideally blackening ones or ones from the freezer as they are full of flavour!
3/4 cup Sugar
1/2 cup Brown Sugar
1/2 cup Vegetable Oil - I used canola but anything light on flavour should be good
2 Eggs
1/2 cup Buttermilk (or sour cream or yogurt or 1/2 cup milk plus 1/2 teaspoon vinegar)
1 teaspoon Vanilla Extract (optional)
1 teaspoon Baking Soda
1 teaspoon Salt
1 teaspoon Cinnamon
2 cups Flour
Streusel Topping:
1/4 cup Butter, softened
1 cup Brown Sugar
1 Tablespoon Cinnamon
1/4 cup Oats
in a large bowl smash your bananas until they are liquidy, I use a fork, but you can also use a potato masher if that’s easier for ya!
To the bananas add both the regular and brown sugar, you can also add the cinnamon, salt, and baking soda at this point. Stir to combine.
Now pour in your liquid ingredients, buttermilk, oil, eggs and vanilla. Stir to combine.
Now add all your flour and stir together. Don’t overmix the batter here, it’s ok if there are a few lumpy bits.
In a separate bowl place all the ingredients for your streusel topping - butter, brown sugar, cinnamon, and oats.
Using your hands smoosh together the streusel ingredients until the butter has been incorporated into the sugar.
In a greased and lined loaf pan place about 1/3 of the batter and spread to cover the base of the pan, now grab a handful of the streusel topping and spread it over top, then repeat this two more times until you use up all the batter and streusel topping, making sure to have a nice layer of streusel topping to place on top of the loaf.
Bake in a preheated 350F oven for about 45-60 minutes, or until a toothpick stabbed into it comes out clean. If your banana bread seems to be browning too quickly, turn the heat down to 325*F. If you don’t use a loaf pan be sure to adjust your baking time, the thinner your batter is, the less time it’s going to take.
Let cool then you are ready to slice and eat! Yay!!!!
Granola Bars - dreaming about when we need quick breakfasts again!
Granola bars are my go to breakfast when I am not stuck in my house avoiding the general public and daily life…oh the days before social distancing, seems like so long ago…it was only 4 days…just a few more to go, right! These babies are easy to prepare and then once cooled you can wrap them up individually and pop them in the freezer, all ready to go for easy snacking!
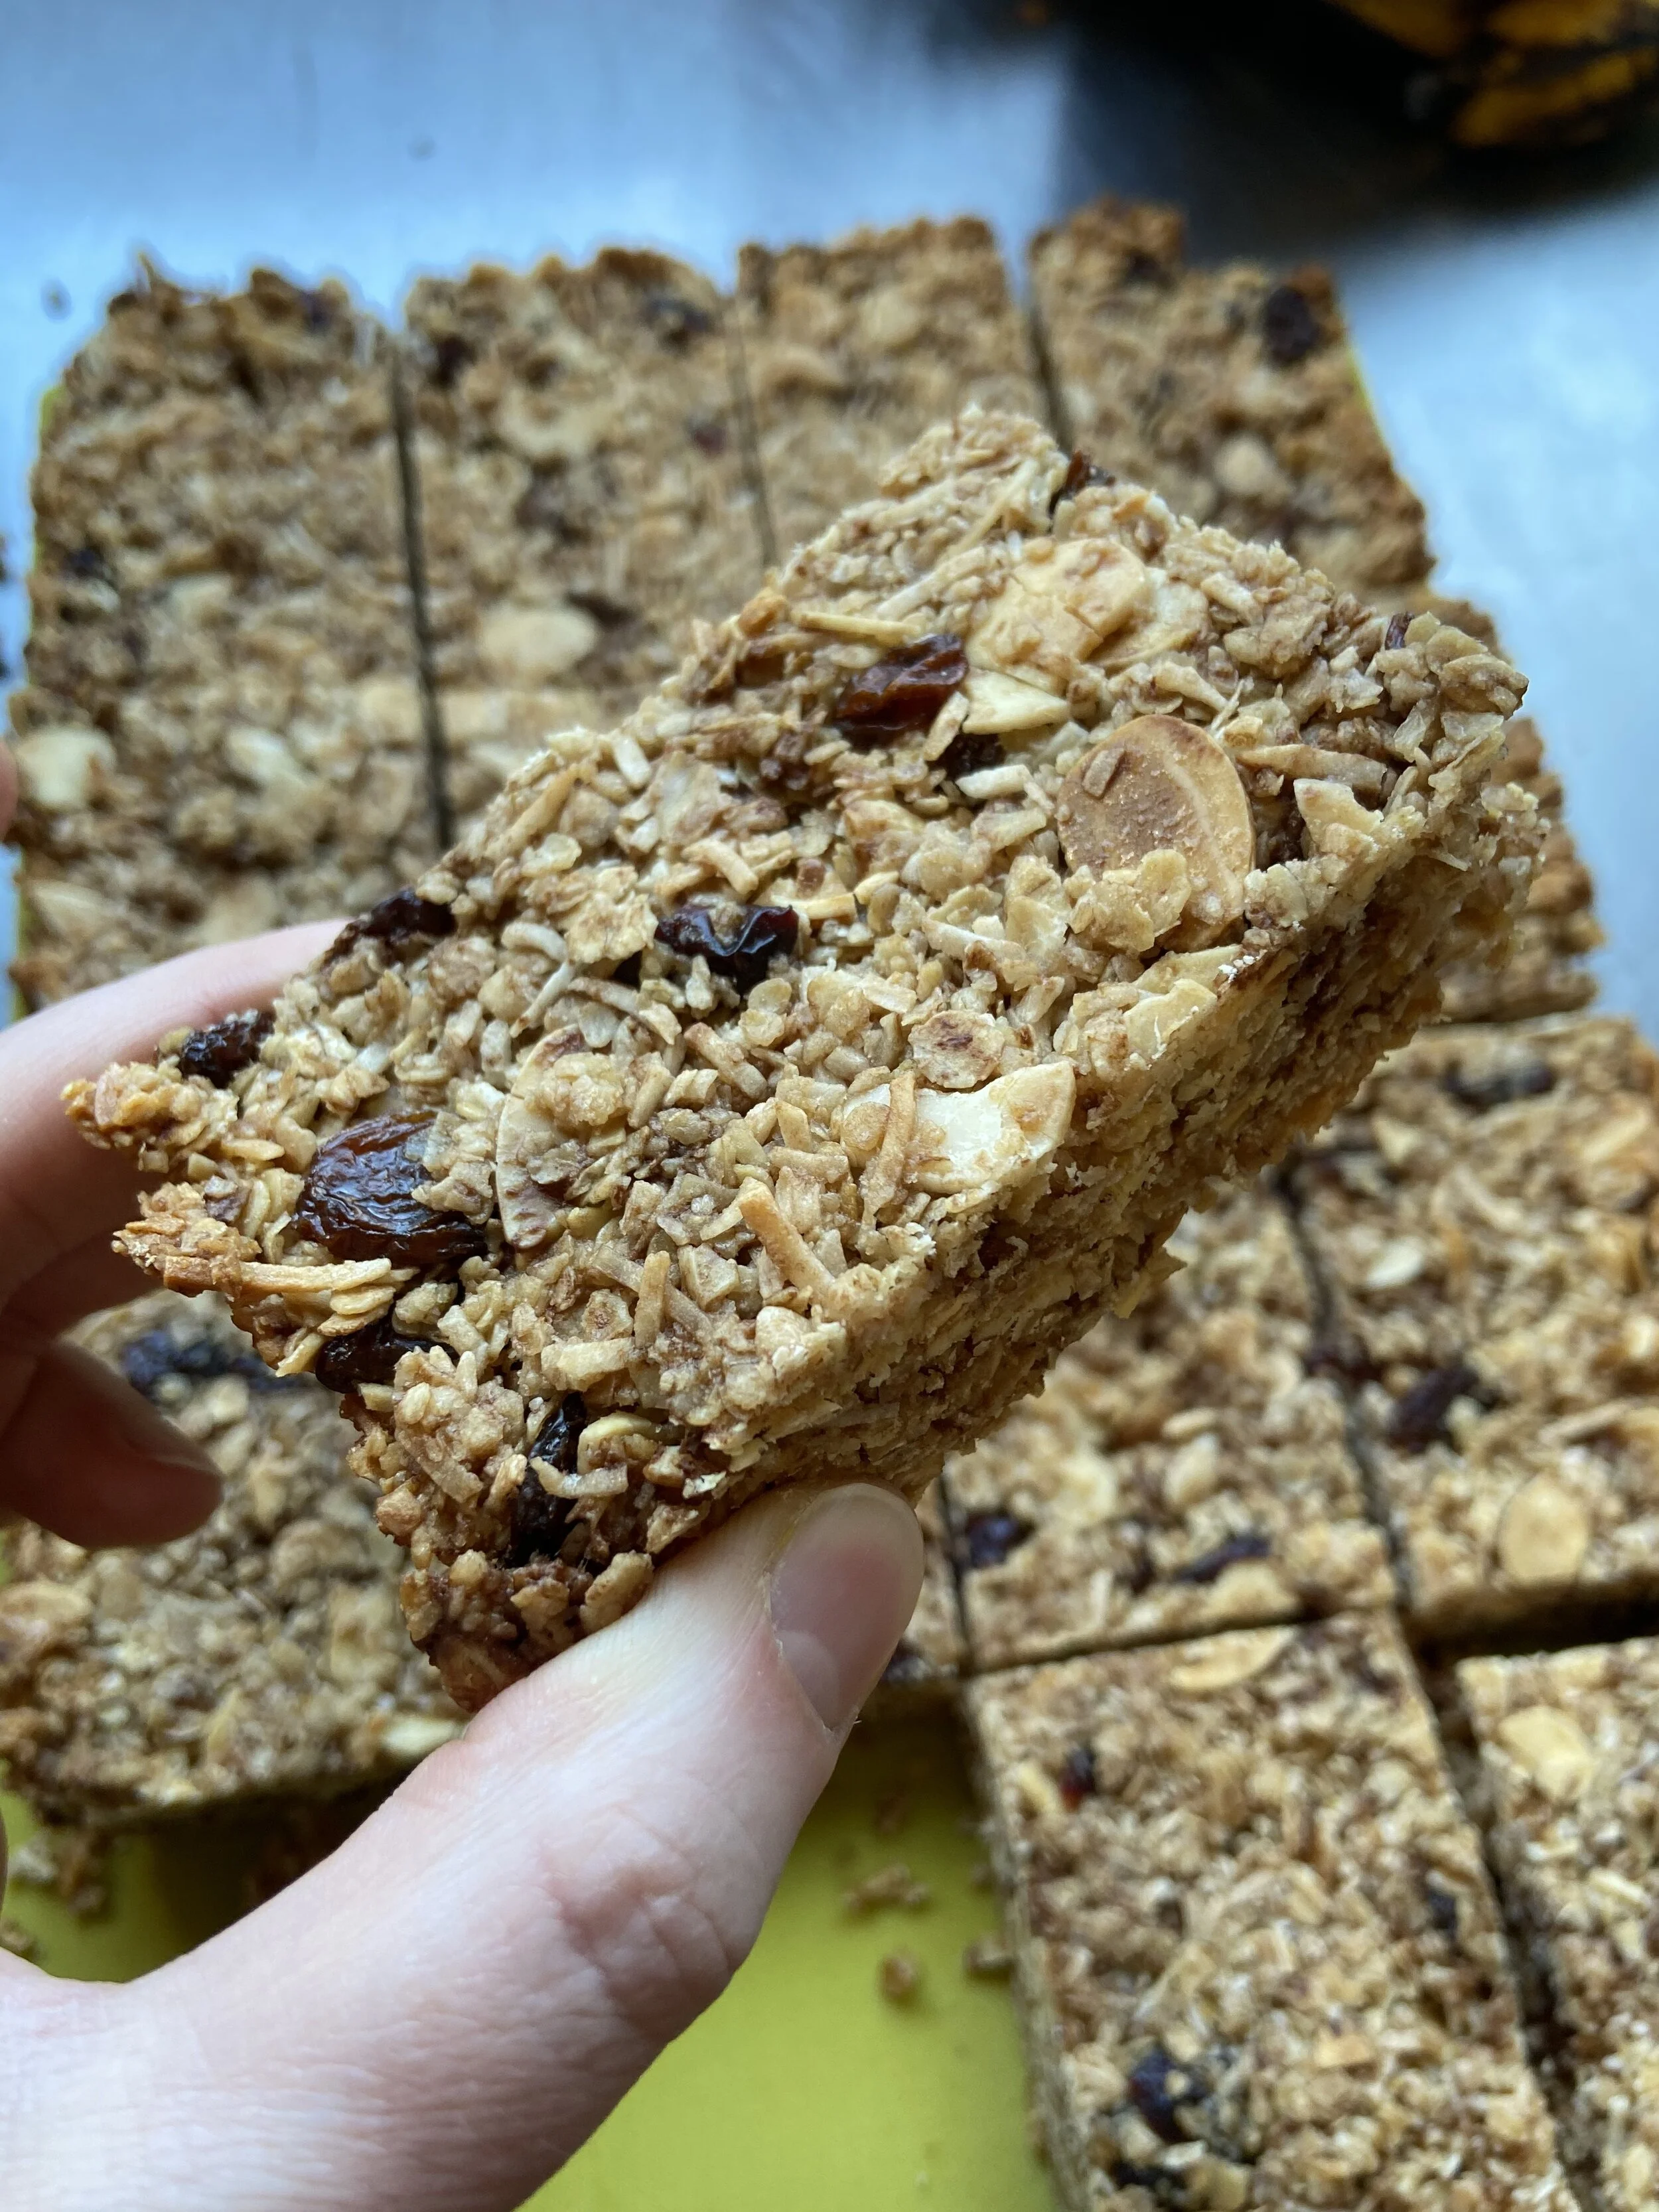
Granola Bars!
Granola Bars
Yield: 9”x13” pan
Preheat your oven to 350*F
1/3 cup Butter
1/3 cup Brown Sugar
3/4 teaspoon Salt
1 cup Honey or Maple Syrup (if you don’t have enough of either you can supplement with corn syrup, it just doesn’t have as much flavour)
4 cups Oats- ideally old fashioned rolled oats, but use what you have, we’re in quarantine!
2 cups almonds or other nut, toasted lightly in the oven
2 cups shredded Coconut
1 1/3 cup Dried Fruit - I used a mix of dried cranberries and raisins, with a little bit of chocolate chips!
In a saucepan place the butter, brown sugar, salt and honey. Bring to a boil.
While that is heating, mix together the oats, almonds, coconut and dried fruit to combine.
Pour the honey butter mixture on top of the oat mixture and stir to combine.
Grease a 9”x13” pan, then place a piece of parchment on the bottom and grease that as well.
Pour granola bar mixture into the pan and with damp or greased hands just press it into the pan until it feels firm.
Bake for about 20 minutes or until lightly golden.
Let cool (ideally overnight or for a few hours) and slice into bar sized pieces - I like to wrap them individually in saran wrap and pop them in the freezer, but you can also just crumble up the granola and put it into a jar for eating on top of yogurt or fruit. Yum!
Pineapple Upside Down Cake for when the world is upside down!
Yesterday I watched a terribly amazing movie about the BEST surfer from Arizona who goes to Hawaii to surf the North Shore, only he has no idea what he is doing because he is a surfer from ARIZONA! This pretty much sums up my skiing experience - “Hey Deidre have you skied before?” “Oh yes, plenty of times” in MANITOBA! Where we literally skied down a man made hill because we have no mountains. Lets just say I rolled down the mountain for a day and decided never to ski again. Anyways, Hawaii, the land of pineapples is where I wish I was right now, but since I can’t be there lets eat some pineapple!

Pineapple Upside Down Cake
Pineapple Upside Down Cake
Yield: 10” skillet serves 1-8 depending on how willing you are to share
Preheat that oven to 350*F
1/4 cup Butter
1/2 cup Brown Sugar
1 can of pineapple (ideally those rings of pineapple, but I don’t have that so I’m using the chunks of pineapple, use what you got, we’re in quarantine!)
3/4 cup Butter, softened
3/4 cup Sugar
2 Eggs
1 cup Buttermilk or Sour Cream or Yogurt or 1 cup of milk with 1 teaspoon of vinegar
1 teaspoon of Vanilla or Rum if you got it!
2 cups Flour
1 teaspoon Baking Powder
1 teaspoon Baking Soda
1/4 teaspoon Salt
In a large skillet or 8”-9'“ cake pan melt the 1/4 cup butter, if you have a skillet you can do this right on the burner, otherwise just pop your butter in the microwave and pour it into the bottom of your pan.
Spread the brown sugar on top of the melted butter, making sure to evening distribute it.
Drain your pineapple (we don’t need the juice for this recipe, but it sure makes a great cocktail!) then fan it on top of your brown sugar. If you have larger chunks like me, you can slice them into thinner pieces and read those on the brown sugar so they look prettier…or not, up to you! Then set this pan to the side!
Now for the batter! Ideally with an electric mixer (stand or hand mixer, both work great) beat together your butter, vanilla/rum if you got it, and sugar. You can do this by hand, you are just going to have a work out!
Once the butter/sugar looks nice and fluffy add your eggs.
You can now toss in the baking power, baking soda and salt.
Next, alternate in the flour and buttermilk (or alternative as listed in the ingredients). I usually do 3 additions of flour and 2 of the buttermilk.
Now smear your batter on top of the pineapple in your pan, try to not smooth around the pineapples too much since they are going to be the pretty top of your cake after.
Bake in a preheated 350*F oven until golden and a toothpick comes out clean
Once baked, let your pan sit for about 5 minutes, then place a plate over the top of the cake and very carefully flip it over. WATCH FOR HOT SYRUP! Then eat while warm and dream of Hawaii!
No Knead Bread you really NEED in your life!
Ever wanted to make bread but you are intimidated? Maybe you have tried making bread and it was a disaster… I have been there and I literally went to school to learn how. Bread can be tricky, but it can also be super simple! This no-knead bread recipe is perfect for when you are social distancing and need something to a)occupy your life and b)eat with your dinner…but tomorrow’s dinner because it takes about 20 hours of resting before you can bake it.

Golden Brown and Delicious!
Cracked Black Pepper and Parmesan No-Knead Bread
Yield: 1 loaf
All-purpose Flour 3 cups
Instant or Active Dry Yeast 2 teaspoons
Salt 2 teaspoons
Black Pepper 1/2 teaspoon
Parmesan, grated 2 Tablespoons
Warm water 1.5 cups
Olive Oil 1 Tablespoon
Mix together the flour, yeast, salt, black pepper and parmesan until combined in a large bowl. The yeast is going to GROW so you want there to be lots of room for your dough to expand overnight.
Stir in water and olive oil until it forms a sticky ball, you can just use your arm and a spatula for this, you don’t need a mixer…it’s like magic!
Put a lid on your bowl, or saran wrap it and let it sit for about 20 hours.
Pre-heat oven to 450*F and place a large cast iron pot with a lid inside while it is preheating so it gets nice and hot. I have an enamelled cast iron dutch oven which works great, but something that holds heat and has a lid is what your looking for. You are basically making a bread oven inside of your regular oven.
Once the oven is hot, you can plop your dough out onto a floured surface and roughly roll it into a ball.
Next pull your pot out of the oven, you can give it a little spray of non-stick cooking oil aka PAM, and plop your bread ball into it. Then place the lid on top and put it back into the oven.
Bake with the lid on for 30 minutes, then remove the lid and bake for another 15 minutes or until golden brown!
I like to take my bread out of the pot to cool on a wire rack so it doesn’t get steamy on the bottom, but voila! Fresh baked bread, easy peasy!